Wednesday 13 March 2013

The chequered flag for the Williams FW 14B

I have spent a couple of hours today applying the tyre decals. I soaked some kitchen paper to wet the back of the decals. after a few minutes I coated the tyre with decal adhesive and placed the decal on the tyre. I pressed down on the decal and carefully removed the backing from one end while keeping pressure on the remaining decal in contact with the tyre. This worked well and the decals went on easily.. I waited about half an hour between doing the other side and kept the tyre clean by doing this side on a sheet of clean paper. The wheels fitted on in seconds  and basically Bob's your uncle.


Well there isn't much to add here, all I need to do is to put up a display shelf for this creation.So adiĆ³s amigo's.

All you need is wheels

I have completed the car now, the tyres have been sanded, all I need to do now is fix on the tyre decals and from past experience they are problematic, as the rubber surface of the tyre does not lend itself easily to sliding the decal into the best alignment.
I suppose I'm reluctant to let go and finish the whole thing now. Anyway I'm sitting here listening to Barclay James Harvest, a birthday present, and remembering the last time I saw them, back in  1978 and the ticket price was £ 2.80. I still have most of my tickets from gigs going back to 1977. I still have an Ozzy ticket signed by the man himself and Randy Rhodes the guitarist who I met in a record shop in Newcastle. As I remember it Ozzy was totally gone, nowt unusual there though for the time. Tinkity tonk for now.


Life is for living and living is free, as they say back in the good old 70's.

Sunday 10 March 2013

Countdown for the Williams FW14B

I have been cracking on with the decals and haven;t much left to do. I nearly forgot to add the top coach line to the rear cowl. I did check that it would line up with the air intake once assembled, give or take a whisker. I started the main bodywork with the coach lines. the only problem I had was with the long line running to the front of the nose cone I split this into two parts to make it more manageable, which also overcame the fact that it was too long. The joint with the upper suspension bulge was tricky and it seems I have sprayed the wrong line separating the blue and yellow at this point, Oh bother ! or words to that effect. I shall rectify this by hand painting in the offending part. The instructions or box art do not help. Apart from that everything was tickety boo.
Cheerio again.


Saturday 9 March 2013

Williams FW14B decals

I have started to apply the decals and have completed most of the rear cowling. I tried trimming off the blue decal on the coach lines but found that if I trimmed them too close to the white line the decals split, so I trimmed them about 2 to 3mm in from the white line. I don't know if my scalpel is too blunt but it seems fine on other things. I used decal coat to help adhesion and found this also helped. I have also applied the Canon decals to the rear wing. Here inoticed the the logo on the top wing needed to fit around the central support, but the decal had needed to be trimmed to fit by cutting out the central split . On the lower wing I split the logo into two parts, again with success. I have not taken any pictures yet but will do so when I have made more progress.
I also received an invitation for an interview for a job, a rare and welcome surprise. I  have applied for hundreds of jobs since being made redundant and so far have only had one months work in a part time job since September 2010. It would be great to get back to work and earn some money. I have worked nearly all of my life, starting with paper rounds when I was about 12  . I then worked weekends in a supermarket, a very new fangled innovation at the time and a world away from what we know today. I was last unemployed for a few months after qualifying as a teacher back in 1992. I never expected to spend this amount of time being unemployed and am sick to death of being classified by the media as some kind of dirt on the shoe of society, so I hope I get a job out of this interview and have some money to spend in my pocket.
Cheerio for now.

Thursday 7 March 2013

WILLIAMS FW 14B Problems and solutions

The exhaust fit, front wing and electrics.
I completed the exhausts with some difficulty, it was like trying to reassemble a segmented orange back to its original state and then fit it back into the skin. I tried to align all the pipes in line as shown on the diagram, using a ruler, but gave up and gave it my best shot. When dry I gave them a dry fit and the seemed ok so I glued them in place and used the alignment part supplied, however when the body assembly was fitted to the undertray the left exhaust was still out of line. I fixed this by using a toothpick to align it and fixed it in place with some good old superglue. I fitted the bottom radiator connections with no problem and moved on to fixing the ready painted engine intake. I had painted the blue square onto the yellow base paint using the measurements of the blue decal and the result was fine. I am still constructing the rear wing and will apply the wing decals before fitting as it would seem easier to fit these without being hampered by the bodywork. Working with large decals is difficult enough, as I found out with the front wing decal. Construction of the front wing was simple enough,but the white decal became a real problem. I fitted the decal in place, allowed it to semi dry and fitted it to the body. Big problem, as soon as I fitted it it began to tear wherever I touched it and the fit with the nose tore it even more. Fortunately I had bought an extra set of decals, as I could foresee problems with fitting the coach line detail, particularly on the front body between the front suspension arms. I cut out the new decal and decided to cut out the section under the nose before applying. I also used humbrol decal cote to fix it and trimmed the ends as the decal was slightly oversized. This worked much better and I am now waiting for it to dry completely before giving it a coat of clear paint, so that the white finish matches the rest of the gloss bodywork white. I then decided to add the extra cable detail to the right radiator duct. I raided one of my bits boxes and lets face it we all have them. I made the cable connector from two 1:35 tank periscopes and drilled out the holes for the cable, using the thin black cable supplied with the kit, the only cable with any spare. I used some thick black cable for the other connector and passed through some fine black cable from my bits box for the other cables. I know it is not as good as others I have seen, but it serves the purpose. I have decided to write this blog as a distraction from my current task of cleaning off the mould lines from the tyres. I have spent about two hours on this so far as I have to do it by hand using the good old sandpaper. I hope the result gives the impression of new tyres as I have tyre decals to fit on at the end. I can now see the end of construction in sight and am kind of looking forward to the end result, but as I have mentioned I can see problems with fitting the decals. One other thing I should mention is that I am leaving the fitting of the mirrors, aerial and windshield until after the decal fit as the coach lines will be easier to fit. I suppose some of the decals could have been fitted earlier, but then they would not have withstood much handling. A bit of a case of a glass half full rather than half empty, what ho! That's all for now toodle pip for now and as I have said in the past a bit of feedback, good or bad would be greatly appreciated. Cheerio.


Saturday 2 March 2013

The end of the beginning for my Williams FW14B

RADIATOR DUCTS, RADIATORS AND ENGINE FIX.

Things have moved on relatively quickly since my last post, so I thought it might be a good idea to bring you up to date. After fixing the front brakes, which was very straight forward I moved onto the radiator ducts. The instructions are very clear and the parts easy to fix.  Attaching the ducts to the body was OK. I found it a little difficult to get the electric cable into the hole on the left side and was glad that I had tried a dry run before using adhesive. It might also have been worthwhile leaving out the wire inserts, but the inserts make the cables mould better to the bodywork with the inserts. I also checked out the Paul Smith, Dan Parrat and modelersite photographs for extra cable detail. I found these both helpful and confusing at the same time. For some of this detail I concluded that I simply dont have the tools to construct some of the parts and the detail on the modelersite and Paul Smith sites is so brilliant that I have to admit my 52 year old eyes simply can't recreate no matter how strong my glasses are and my pockets are empty for buying more tools and parts, which I am sure could be found in some resin kit sites, hey ho such is life. I attached the ducts carefully to make sure the body work was not damaged. I used some super glue on the front left duct as the cable kept pushing the duct out of line. I then added some extra detail to the ducts and decided that I may come back to this detail at a later date when I have completed the majority of the build, as it is an easily accessible area to work on. I then measured up the metal foil part so that I could feed through the green cable before attaching it to the bodywork. I pushed the cable pegs through the foil and it would be advisable to make sure the foil is clear of the pegs as the cable will not fit on easily at the engine mount stage, some thing I neglected to do and cost me more time at that point. The next stage, fitting the radiators was quite easy, the only thing I did extra was give the radiators a wash with some matt black to highlight the detail. I may also add the red cable from the engine kill switch to the engine block. Here again I am confused as the box detail shows the cable ending before the engine block, but the other sites seem to show that this may not be the case, however the photographs are not clear, FRUSTRATION ! 
Fixing the engine was OK, but take care with the two top screws as I felt the screw holes should either be smaller or better designed, as the difference in size between the screw head and the hole is almost nil. I put a little super glue onto the top hose connection with the radiator to fill the tiny gap and painted it when dry. Tying of the green cable  was next on the list. Where to cut the cable as there was at least 4 or 5 cm spare. I gave myself about 2 cm to play with for tying off. I found this very fiddly as the peg to is only 1 or 2 mm long and I didn't want to be to forceful and end up snapping the peg off. I managed it after a few attempts and ended up putting a tiny drop of glue on the cable to secure it, I used the same technique when fixing the rigging to the Vosper MTB and the Schnellboot. Well that's as much as I have done.
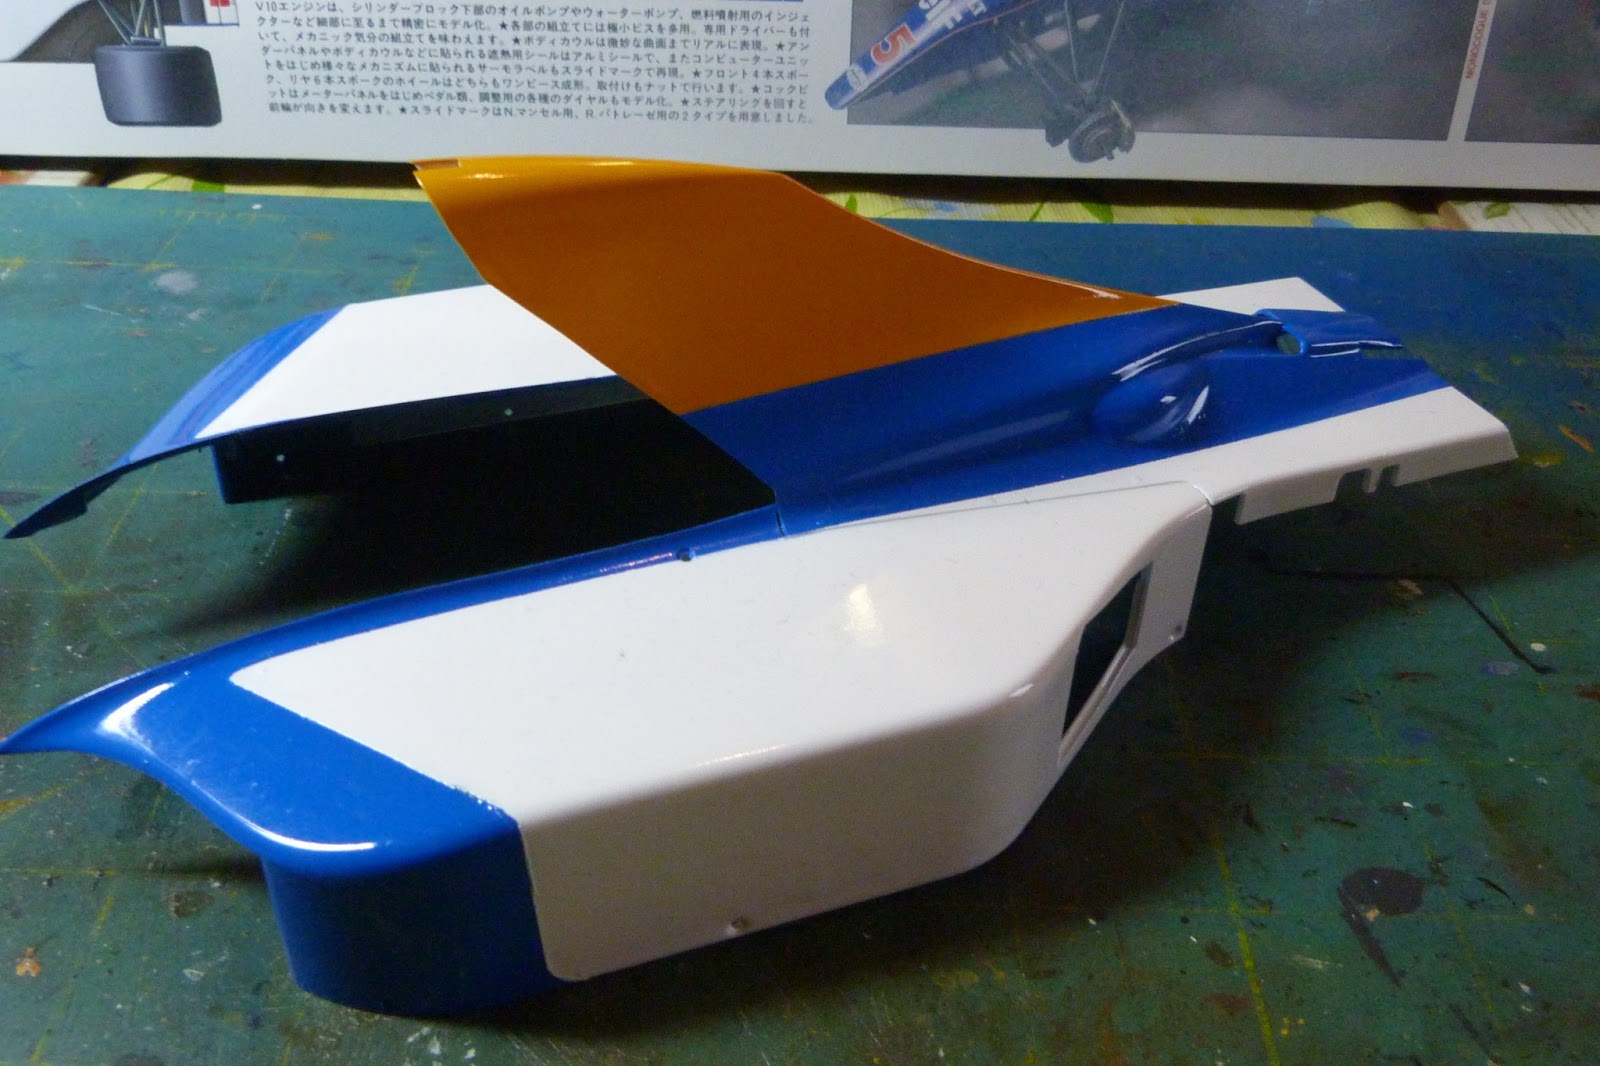
 I feel that I have completed most of the build now which is a bit of a shame as I have really enjoyed this project and cannot afford to start another one. It is also a problem to find spaces to display the finished results and dusting them is a real pain in the. Anyway moving swiftly on I am sure there are more little problems to solve with this one. Here are some photographs of the kit as it is now and I hope they are of interest.


On this side I added cable detail to the small small radiator on the top of the duct and an extra cable and tie to the rear.

 
On this side I have only added one extra cable to the front and painted the top assembly slightly differently refering to the box art and other web sites. There are many other details that can be added here at a later date.

 I have not finished working on this area, the rivets need to be painted and the kill switch cable added.


What ho! that's all for now so it's cheerio and tinkity tonk from me.

Thursday 21 February 2013

WILLIAMS FW14B The story so far

REAR COWLING AND FRONT SUSPENSION

I have finally finished spraying the rear cowling and added the active suspension detailing. The rear cowling wasn't much of a problem until I took off the masking tape, which left one or two spots of matt adhesive marks on the blue area. My mistake I suppose, the blue paint must not have hardened off, even though it had been left for a week. I corrected this by over spraying with clear acrylic and that seems to have done the trick. The front active suspension detail is now complete. at least to the parts supplied, but the box art shows another section that should be included. However since this is now to be covered over for ever I think I will leave it and there seems to be little space under the cover to add extra components. The reason I say it will be covered over without being able to remove the cover is that the retaining screw is fixed into the plastic tub cover and removal of the screw will simply strip out the thread of the plastic making it impossible to fix it back down again. Another metal bracket would have resolved the problem and I am sure I could have rustled something up if I had thought of this sooner, what ho for hindsight eh! I have also been thinking about the engine air intake and having researched many photographs of the actual car, have decided to spray the blue square onto the yellow to avoid using the supplied blue decal and having paint match problems. Once again the side box art is incorrect in this aspect. I have also received from Hong Kong the extra Camel and tyre decals, well worth the $10 to finish the model accurately. I shall now get on with the front brakes and side pod detail and update my blog when I have made some progress. I know it might seem a bit of a pain, but I would really like anyone who reads this to give me some feedback. Thanks and cheerio for now. Here are some pics.


That's all folks !

Tuesday 12 February 2013

Williams FW14B update

Masking and Dust 
I thought That I had found my ideal solution to my masking problem by using my old bottle of Humbrol Maskol, from my paint store, coupled with my 5 mm tamiya masking tape for the small areas to be covered, jolly good and off we go. I started by spraying the yellow, them masking off after 24 hours drying time. This was when I encountered my dust problem, as gloss spray highlights dust much more obviously than matt spray, which in my previous experience is mainly the type of spray used on military models. Coupled with the fact that I am having to spray in  my kitchen rather than in the garage, it's just too cold even for us northern folk and the cold does nothing for paint drying time. Any way after a few coats I was happy with the finish. On with the masking and spraying the blue paint and more drying time. Disaster ! the maskol was not up for the job. Hey ho back to square one. This time I simply used the Tamiya tape and trimmed it with  a swann morton scalpel. What Ho ! success. I then repeated the process with the semi gloss black , job done. As I was busy with the masking tape I decided to spray the main body cowling and have so far sprayed the blue and yellow areas and am now in the process of spraying the white. Again dust is the main problem, as no matter how much I clean up the area to be sprayed, suddenly there seems to appear a small hair or tiny speck of dust, where do they come from ? I suppose I shouldn't be surprised, living in a house with a large boisterous Labrador  and backing onto farm fields doesn't help.
Anyway that was a good weeks spraying, including drying time and I have learnt a lot. I am also happy with the result and can only hope that the coach line decals fit well. I also need to purchase the extra Camel decals to make sure the finished model is accurate for the season.


I shall carry on with my project but have decided that there is no way that my modelling skills or my stock of tools and parts are up to the super detailing of Paul Smith's standards as I would have needed to cut off the nose section for the front bulkhead detail. You just have to realise your own limitations and marvel at the expertise of other people who are simply better than you.
Cheerio for now. 

Sunday 3 February 2013

WILLIAMS FW 14 B UPDATE

I have completed the cockpit tub and am now ready to cover it up in the front part of the body work, which will hide forever the foot pedals and most of the internal detail if the drivers compartment, so I thought I might as well take some photos and describe some of the problems I encountered.
I began  by spraying it blue, giving it 3 coats and allowing 12 hours between coats. I then masked of the blue and sprayed the semi gloss black areas. Having looked at the instructions for installation of  the engine I needn't have taken so much care with the back as it is covered with metal foil. Ah well, tinkity  tonk as they say. I proceeded to add the subsequent detail and was quite pleased with the result. The seat belts were a bit fiddly, making sure they were aligned properly with no overlapped areas. It is also important to remember not to fold the main body strap section before attaching it to the adjustment buckle, one of the very few ambiguous parts of Tamiya instructions. The straps themselves seem very prone to fraying and once attached to the seat need a careful eye to remove stray threads. Fitting the seat is also a little ambiguous and I referred to the box art for positioning. Once again much of the dashboard detail and the internal cockpit will be hidden when I attach the front cockpit cover. 
Here is my next problem. I need to spray this part yellow, blue and black. There are no clear instructions as to where to spray the blue paint on the underside of the front upper arm suspension covers and I cannot decide which colour to spray first. The instructions also do not indicate if the inside is sprayed black, but I assume it is. I shall now move on to completing the active suspension detail and the front brake assembly. 
I am enjoying making this model and in many ways I will be sad to complete it. I hope you enjoy the photos and if anyone out there has any advice please Email me at malcolmh61@googlemail.com


Also note here that there is no clearance between the steering shaft and the brake pedal.Having fixed the pedals earlier there wasn't much I could do here. The green cable attached to the pedals is also fixed with super glue. There is no way on earth that I can tie a knot in 10mm of cable, perhaps some superhuman at Tamiya can sent me a tutorial, because now I am trying to think of how I am going to tie it onto the throttle on the engine block. Hey ho another problem for another day.


This is the troublesome spray paint part that I mentioned.


I hope you enjoy the photos and at least I have some evidence of the detail inside the cockpit.


I had to include this photo of my biggest fans and the greatest contributors of problems to spray painting indoors in the winter months, HAIR !!